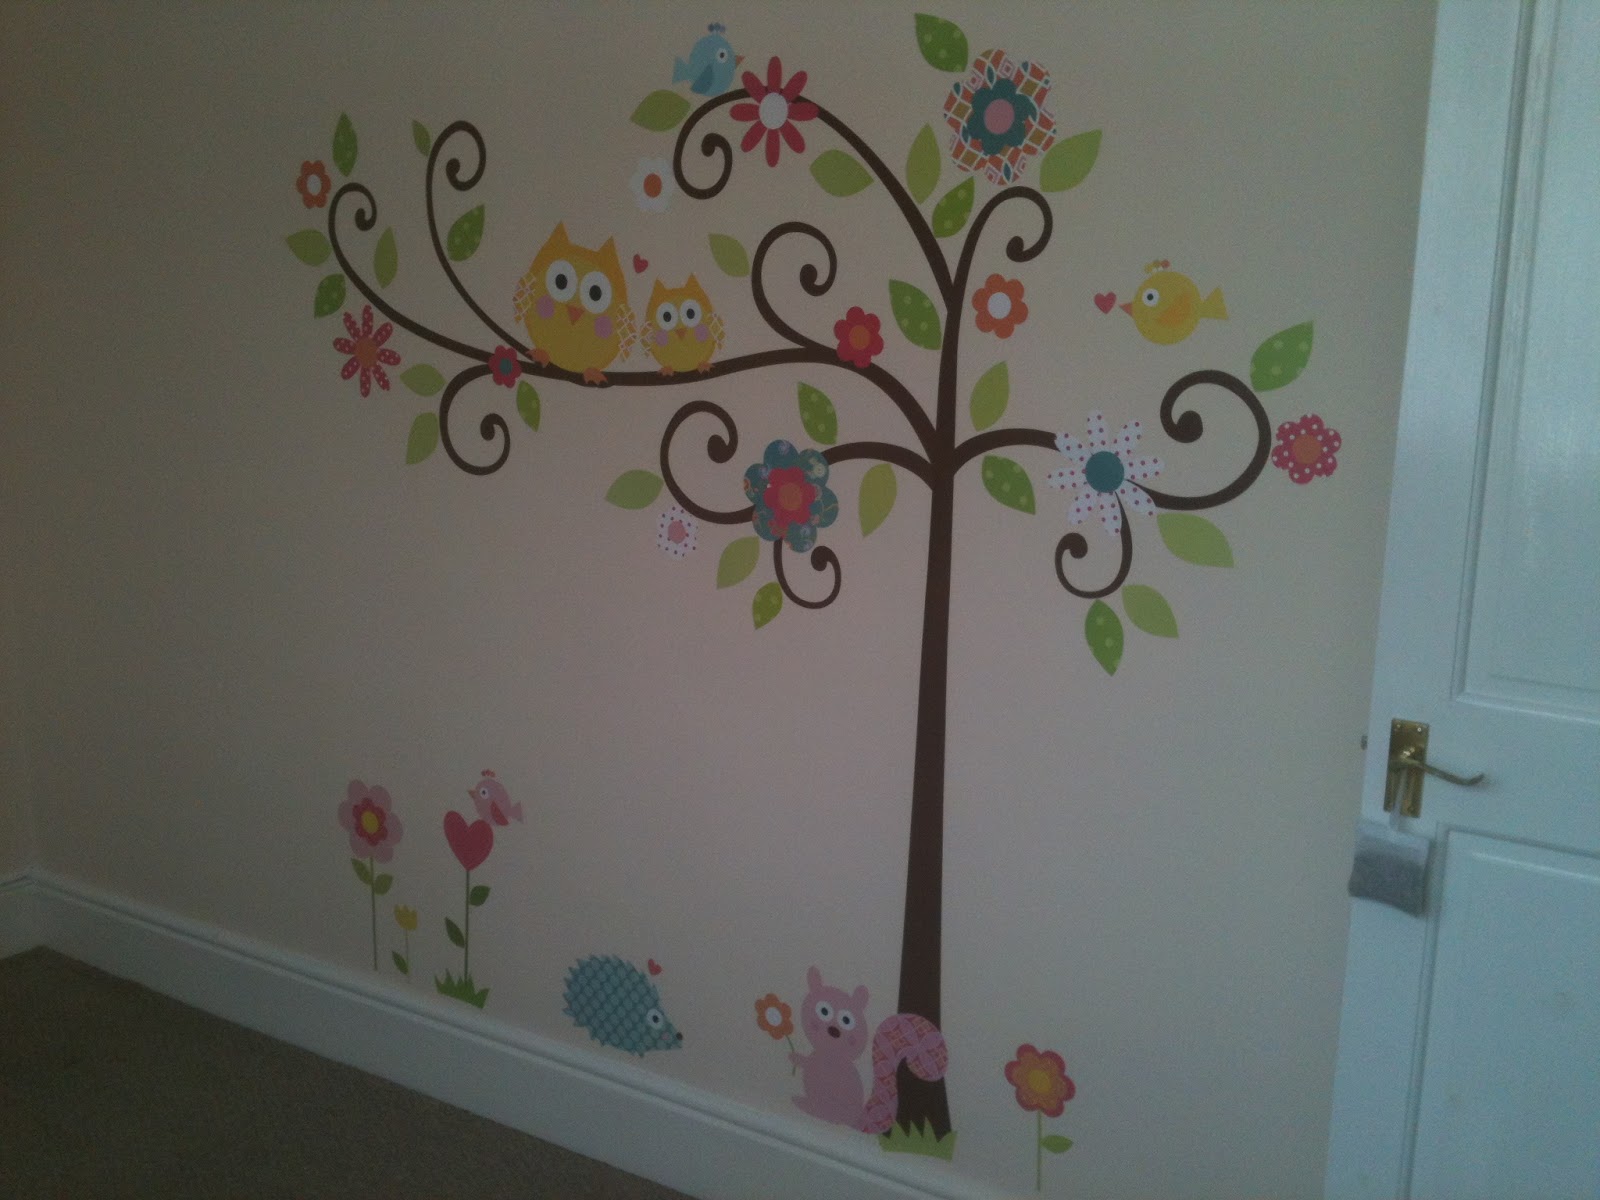
We rent our house so we couldn't do too much to the room or its structure. That's when wall stickers come in really handy, they jazz up a room in no time and leave virtually no damage when you have to remove them. I'd fallen in love quite early on with the Jomoval Scroll Tree range so we bought that and on the back of it, agreed on an owl theme for the nursery. The wall sticker comes in 80 or so individual bits so putting it up, while simple, does require a little bit of patience!
To my delight, we've inherited our crib. It actually is the crib my sister and I slept in when we were born and the same crib all my nephews slept in more recently. Of course with the crib being nearly 35 years old, the original lining and draping hasn't survived so I had to make a new one. Without a pattern. And using elastic, something I haven't done in my sewing adventures so far!
This is where all my lovely fabrics came in handy though! After a lot of thinking, and calculating, and checking with my other half that I was doing it right (baby brain is a real blight and I can't trust my own judgement at the moment), I've managed to produce something pretty decent. Well I think so anyway!

Overtime, the crib will get replaced by a cot bed (another inherited item) and I'll have to make a bumper for it but we've got a few months ahead of us for that.
The next step was replacing the curtains and I wanted them lined, to keep most of the light out and most of the heat in. We debated buying another owlie fabric for the curtains but were worried that it might be overkill. With this in mind and in an attempt to limit costs, we eventually decided to use a perfectly good fabric, cream with dark pink polka dots, that was lurking in my stash. I'd originally bought it with the idea of re-upholstering a chair but that same chair has since become the cat's near permanent residence and as her fur is grey and she moults quite badly in the summer, a cream fabric didn't seem like a good plan anymore.
I had to do a bit of online research to find out which was the best way to make lined curtains but luckily, you can find tutorials for pretty much anything these days. We had a near disaster when baby brain struck and I seamed the wrong end of the lining. I am very grateful for my darling husband who patiently unpicked my mistake stitch by stitch!

The chest of drawers/changing station was also a hand-me down, from hubby's side. We've jazzed it up with more Jomoval wall stickers.
Having it all laid out and ready makes it all suddenly very real! Overall we're really pleased with the nursery and I really hope our little Goose likes it as much as we do. I'll leave you with a few more pics of the finished room. The gorgeous little cushion on the nursing chair was screen printed by the lovely Helen Rawlinson who teaches at the Make Lounge.


